Understanding AutoCAD’s interface is the first step in effectively using this powerful design and drafting software. AutoCAD offers a feature-rich interface that allows users to efficiently create and modify 2D and 3D drawings. Familiarizing yourself with components such as the ribbon, command line, and status bar will enable easy navigation of your designs.
Understanding the AutoCAD Interface
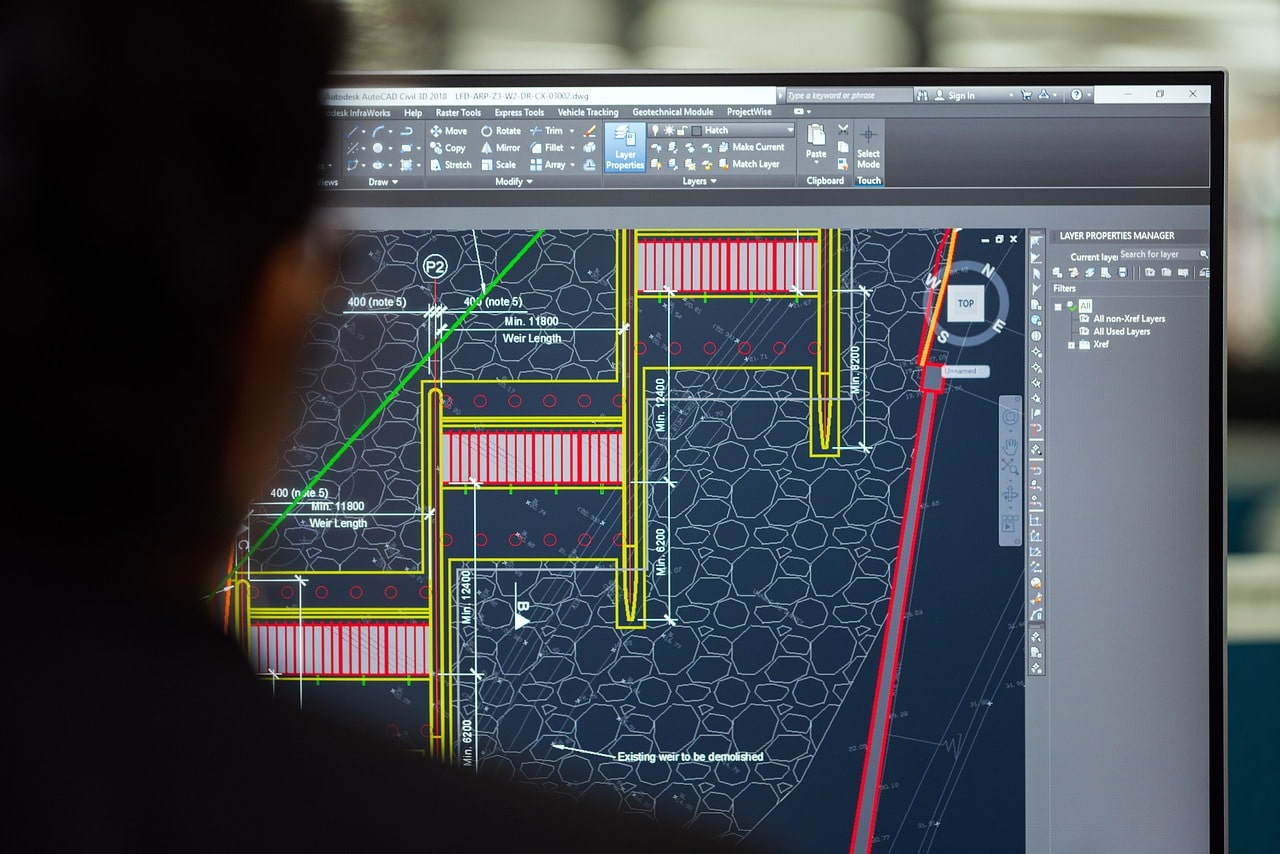
The AutoCAD interface features a ribbon at the top with various tabs, each containing tools and commands. The prominent tabs you’ll likely use the most when getting started are Home, Insert, Annotate, and View. Home contains frequently used modify, draw, and view commands. Insert allows you to bring in blocks, images, PDFs and more. Annotate provides text, dimensions, hatching, and tables while View controls visual styles, navigation tools like pan and zoom, and display options.
Below the ribbon is the command line, which displays prompts, messages, and instructions. You can also type commands and coordinates directly here. Acuity Training can significantly benefit your comfort in navigating with a mouse or touchpad and learning to utilize keyboard shortcuts whenever possible, as it is highly recommended for efficient use of the software. Finally, the status bar runs across the bottom, displaying the current cursor coordinates, relevant modes, and other information.
Navigating and Using Tools
Autodesk AutoCAD holds a significant 27.6% market share in Computer-Aided Design (CAD), providing robust capabilities. The software provides various navigation methods and versatile tools to optimize the drafting process.
You can navigate drawings by zooming, panning, and using the mouse wheel and arrow keys. Accurate object selection is facilitated by selection tools such as filters and lassos. The ribbon organizes associated commands via labeled tabs and panels while the command line offers an alternative access point. Whether you prefer working visually using contextual right-click menus or typing, AutoCAD accommodates both preferences.
While navigating, utilize the plethora of modify, draw, and annotation tools. You may need to hover over tool icons momentarily to view the name via a tooltip. Consulting AutoCAD’s help documentation can clarify unfamiliar commands.
Drawing and Modifying Objects
AutoCAD excels in the specialized realm of computer-aided design across industries like architecture, engineering, construction, manufacturing, and more2. This professional software application features robust capabilities catered towards drafting and documentation needs.
Users leverage AutoCAD to create, edit, view, organize, share, and print drawings comprised of geometric entities like lines, arcs, circles, rectangles, text, dimensions, and more. You can draw objects individually using relevant creation commands and settings or use existing geometry to produce new shapes via offsets and filleting. After compiling a drawing, employ the efficient modify tools to reposition, rotate, scale, trim, extend, break, and otherwise perfect the design.
Establishing organized elements like layers, line types, blocks, groups, and styles allow reusing components while maintaining control. Mastering AutoCAD’s wide range of sophisticated tools for manipulating 2D and 3D geometry prepares you to shape intricate designs.
Setting Up Units, Layers, Blocks, and Dimensions
Determining the appropriate AutoCAD units and setup before starting a drawing saves time. Units establish an accurate plotting scale and measurements while layers organize related objects. We recommend grouping items by function. For example, isolate structural components to their own layer. This allows visibility control by freezing/thawing layers. Also create named blocks of repetitive symbols like doors, furniture, landscaping, etc. By inserting these blocks instead of redrawing identical content, you can quickly populate designs and stay organized.
Another vital setup component is establishing dimension settings early on. Dimensions indicate measurements providing clients critical numerical values. Control extension line lengths, text placement, arrow sizes, and other specifications to ensure clarity while dimensioning. As you become familiar with setup protocols and AutoCAD’s powerful customization potential, you can streamline workflows.
Printing and Inserting Elements
When ready to print in AutoCAD, first set paper size then determine output scale if the print size should differ from the drawing scale. For example, when printing an architectural floor plan with a 1⁄4” = 1’ scale onto 11”x17” paper, configure an appropriate output scale, such as 1:50. This prevents misrepresentation. To preview the print layout, create viewports. For professional results, import title blocks containing logos, labels, and other branding elements.
For convenience while presenting drawings onscreen or collaborating virtually, save files as PDFs. However, take note that large intricate drawings often produce substantial PDF file sizes. To optimize usability, adjust the Density within Plot Settings before creating your PDF. This compresses vector information without compromising quality.
When populating designs, utilize AutoCAD’s Insert capabilities to embed photos, Excel data, and PDF underlays containing reference material like survey data and regulatory drawings. Import files match source content’s scale, positioning them accurately. This saves efforts redrawing existing documents manually allowing you to focus on the new design aspects.
Leveraging Advanced Features for Enhanced Efficiency
Explore the advanced capabilities of AutoCAD that boost productivity as you become more adept with the software. For example, dynamic blocks enable you to insert versatile, flexible content. Insert a door block then stretch or rotate it to fit openings without creating multiple versions. Simply drag edit handles on the appropriately configured block.
You can also attach data like part numbers and prices to objects for integrated schedules or bills of materials leveraging attributes. Automate mundane tasks like drawing revisions utilizing Actions Recorder then play back the sequence. Import geometry from PDFs and other file formats rather than redrawing manually saving significant time.
For collaboration, take advantage of AutoCAD web and mobile apps to view and edit drawings anywhere securely. Implement model-based 3D design for smoother documentation workflows and enhanced precision. Other notable features involve rendering rich visualizations for presentations and creating customized commands with macros.
Stay updated on the latest AutoCAD trends and features by reviewing recent Autodesk blog posts and conference recordings. Expand possibilities by regularly exploring capabilities then adopt those streamlining your specific workflows. AutoCAD’s depth and breadth evolve continually – leverage it fully by continuously learning.
Frequently Asked Questions
What is the difference between AutoCAD and AutoCAD LT?
AutoCAD LT offers a more affordable solution than full AutoCAD software, concentrating functionality on technical drawing, drafting and documentation. Its toolset focuses on 2D geometry lacking some 3D modeling and customization features.
Can I use AutoCAD on Mac and Windows with a single license?
Yes. Purchasing an AutoCAD subscription provides access to both Windows and Mac versions allowing flexible usage across devices.
Can I install AutoCAD on multiple computers?
Indeed. Many users need AutoCAD on desktops and laptops. While your license allows utilizing the software on several computers, only one user per license should be active at a time.
Conclusion
Learning AutoCAD takes time but following core protocols from the start prevents headaches. Determine proper setup components like units and layers first. Master fundamental drawing tools, then modification techniques. Maintain organized content leveraging blocks and styles for efficiency. Lastly, optimize plotting procedures to produce clear drawings or compact PDFs showcasing your excellent work!
Approaching AutoCAD with a methodical workflow is key. Expand your skills through hands-on practice and self-guided education using Autodesk’s tutorials and community forums.